Decoration · · 6 min read
Puff Print vs High-Density Printing: Choose the Right Raised Finish
Compare rounded puff ink and defined high-density print. Learn what to specify for logo edges, small gaps, hand feel and sample approval.
By MadeOnBlank guides · Supplier-published guidance
Short answer
Puff printing expands during curing to create rounded volume. High-density screen printing builds a thicker ink profile that can give more defined edges. Choose by the shape and feel you want, then approve a print on the actual garment. A raised appearance alone does not identify the ink system.
On this page
A logo can look raised in a photograph and still be the wrong finish for your design. A rounded, expanded surface and a sharp-edged ink profile behave differently at small lettering, corners and open spaces. Start with those features before choosing a process name.
This guide concerns raised ink decoration on clothing. It does not cover foam embroidery, molded badges or an embossed garment surface. You can compare those appearances in the finish library.
What creates the height?
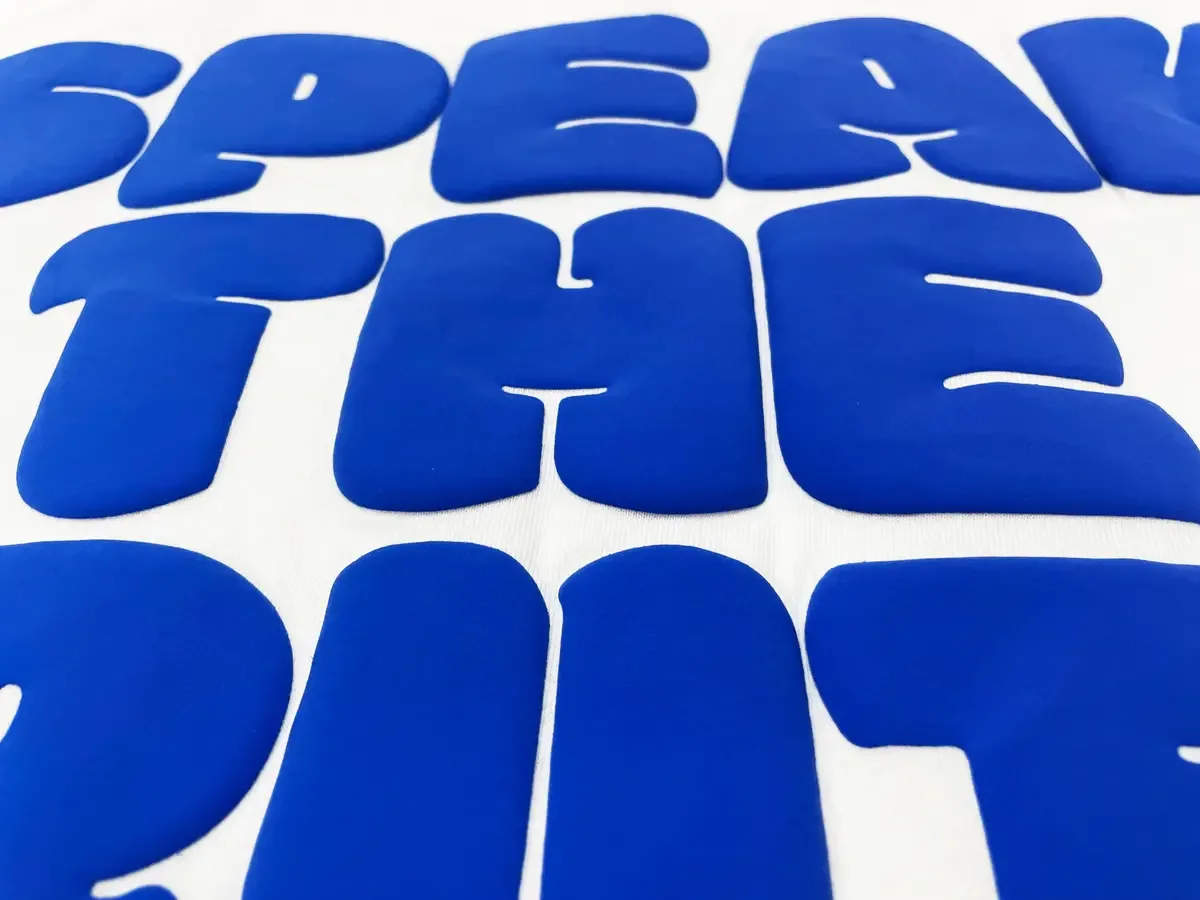
In puff screen printing, an expanding ink system develops volume during curing. The expansion affects the printed shape as well as its height. Broad lettering can acquire a rounded edge, while a narrow gap may become less distinct. The final result depends on the ink, deposit, garment surface and cure conditions.
High-density screen printing uses a controlled thick deposit to create a raised profile. It is often chosen when the target includes a more defined edge or a built-up graphic. That does not make every high-density print sharper, more durable or more suitable than every puff print. The print shop still needs to establish a working combination for the actual design and fabric.
The Rutland technique guide explains screen-printing variables and specialty-print setup. Its equipment and ink guidance is general background, not a MadeOnBlank machine setting or an acceptance specification for your order.
Compare the design decisions
| Decision | Puff printing | High-density printing | What to approve |
|---|---|---|---|
| Target profile | Often rounded and expanded | Often more defined and built up | Side-view reference and physical feel |
| Fine gaps and small lettering | Expansion can reduce separation | Still limited by ink, stencil and substrate | Finished-size test with all important gaps |
| Large filled areas | Can change flex and hand feel | A thick area can also feel firm | Drape and flex on the chosen garment |
| Mixed decoration | Raised and flat areas need a planned sequence | Other colors and layers also need planning | Which areas use which effect and in what order |
| Reorders | Need the approved garment and process reference | Need the same level of control | Retained sample, artwork version and recorded conditions |
There is no useful universal winner for cost. Compare quotes for the same garment, artwork size, colors, placements, quantities, sample scope and delivery terms. A lower unit figure may exclude setup or sampling.
Three choices to make before requesting a sample
If you want soft-looking rounded lettering, mark the raised areas and send a side-view reference. Ask for a puff route to be assessed. Avoid describing the target only as “3D.”
If defined edges are central to the logo, show the corner shapes and smallest open areas. Ask whether a high-density route can retain them at the intended size. Increasing the design size or simplifying an element may be more effective than chasing an unsupported height number.
If the design mixes photographs, tiny text and large raised letters, split the artwork into intended effects. Keep the fine detail and raised graphic identifiable in the file. The technical review should decide whether a mixed route is appropriate, rather than treating the entire image as one puff layer.
A brief you can copy
| Field | What to send |
|---|---|
| Garment | Product reference, color and known fabric information |
| Artwork | Current file and version; separate flat and raised elements |
| Finished size | Width, height, units and position measured from a named garment point |
| Profile | Rounded or defined; front and side-view references |
| Color | Target reference and how it will be approved |
| Use and care | Intended wear, care expectations and any required test |
| Order scope | Quantity by garment/color, sample request and required timing |
Download the raised-finish brief and mark unknown fields as “to confirm.” A reference photograph can communicate a target; it cannot establish its recipe, tested height or wash performance.
Inspect the sample, not just the mockup
- Match the garment and artwork version to the brief. A test on a different blank cannot settle every compatibility question.
- Check the design from the front and side. Look at narrow gaps, edges, filled areas and the transition between raised and flat elements.
- Handle the printed area. Record whether its feel and movement suit the garment. A photograph cannot establish softness.
- Check placement and dimensions using the agreed measurement points. Record the result, rather than relying on “looks centered.”
- Complete the agreed care or performance checks and record the method and outcome. Do not invent a universal wash-count or stretch requirement.
- Approve the accepted scope in writing and keep the sample reference. Record anything still excluded from approval.
Unintended cracking, uneven expansion, blurred edges or poor attachment are issues to investigate against the approved requirement. Deliberate crackle artwork is a different target. Do not call a defect “vintage” after the sample has failed a different agreed appearance.
For a standard full-color print, first compare DTG and DTF. For a raised batch or brand project, send the garment and artwork brief. Specialty availability, sampling, price and delivery are confirmed for that project.
If the raised print is part of a new garment fit or custom fabric program, review Meiting Garments’ puff-print development route. Full garment manufacturing is a separate brief from printing a selected POD garment; confirm its materials, quantities and sample terms there.
Common questions
Is puff printing the same as high-density printing?
No. Puff gets its volume from an expanding ink system. High-density printing uses a controlled thick ink deposit. Formulations and application methods vary, so agree the target profile and check a real sample.
Can a detailed logo be puff printed?
Possibly, but expanding ink can change fine lines and close small gaps. Share the artwork at its finished size and mark which elements should rise. A simplified raised area with flat details may be worth testing.
Is puff print the same as puff embroidery?
No. Puff print is an ink effect. Puff embroidery is a stitched raised construction, often using foam. They need different artwork preparation and sample checks.
Can I order any raised finish as a single POD piece?
Do not assume so. Single-piece DTG or DTF availability does not establish the minimum for a specialty raised finish. Garment, artwork, setup, quantity and sample requirements are reviewed separately.
Sources & scope
General raised-ink comparison and an original project-brief/checklist. Exact formulation, height, compatibility, price and care performance require project evidence. No specialist approval is claimed.
- Rutland: screen printing technique guide
General screen-printing variables and specialty-print background; not our equipment, operating settings, test results or a universal garment specification.
Technical reviewer: pending confirmation. Use the guide to prepare your brief. Product and process approval still requires the actual garment, artwork and order review.
Publishing team, evidence standards & corrections →